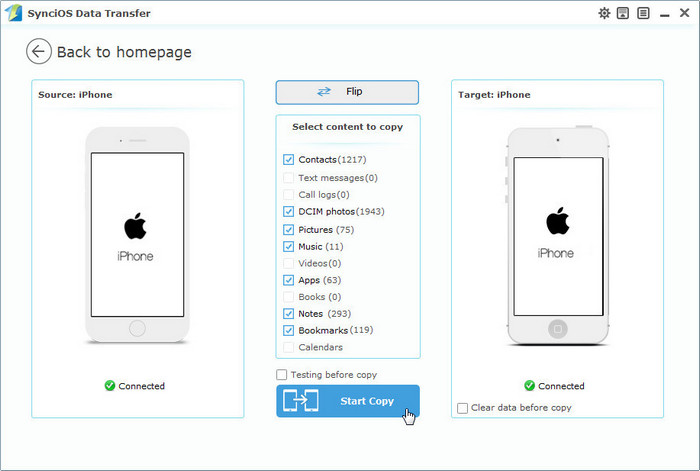
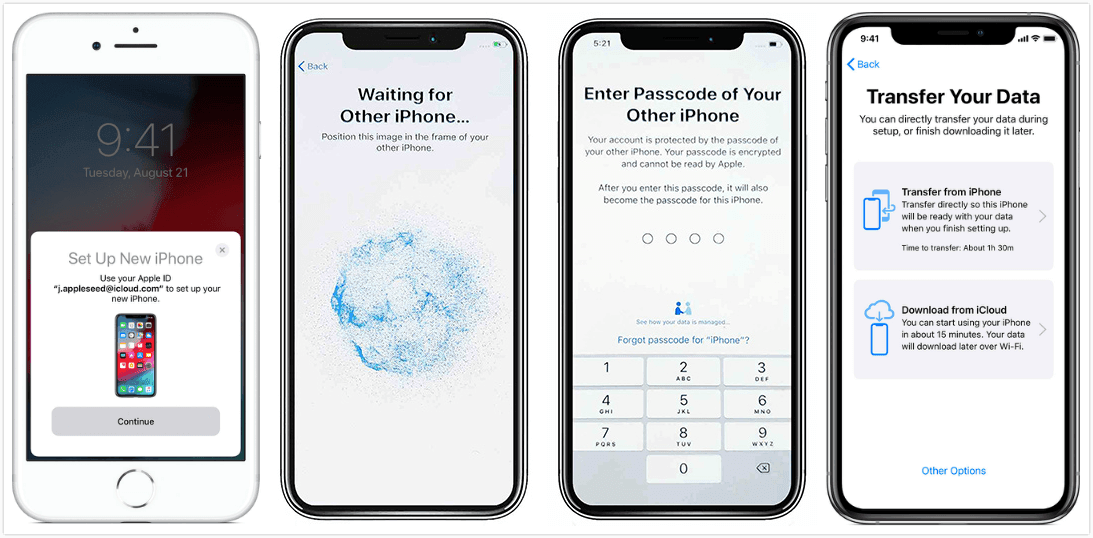
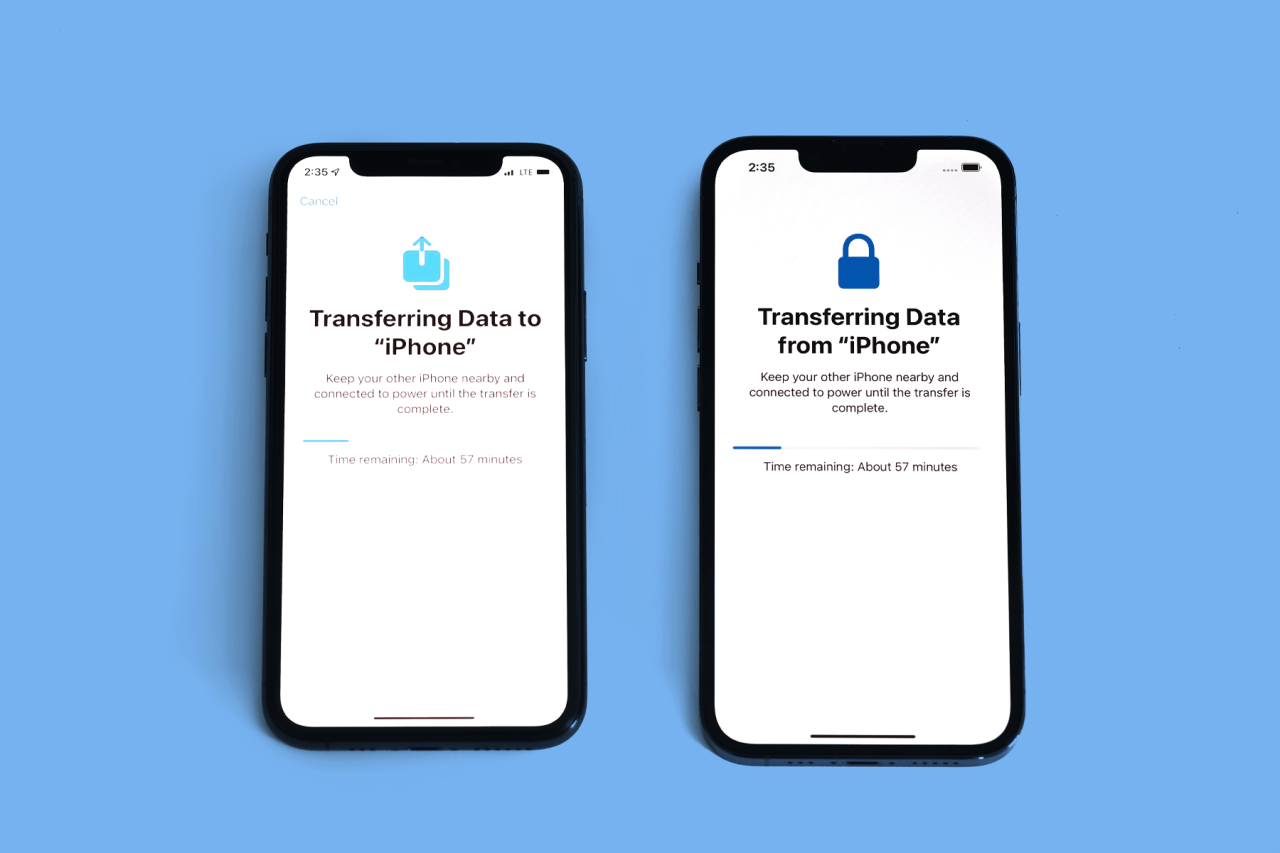
Transfer Methods
Transferring photos from an iPhone can be accomplished through various methods, each offering unique advantages and drawbacks.
iCloud
iCloud is a cloud-based storage service provided by Apple. Photos can be automatically uploaded to iCloud, allowing for easy access from other Apple devices. The main advantage of iCloud is its seamless integration with the iOS ecosystem, ensuring a hassle-free transfer experience. However, it requires a stable internet connection and may incur additional storage costs if the free 5GB limit is exceeded.
AirDrop
AirDrop is a wireless file-sharing feature available on Apple devices. It enables quick and direct transfer of photos between iPhones and other Apple devices that are in close proximity. AirDrop is fast and convenient but requires both devices to be within Bluetooth and Wi-Fi range.
Email can be used to transfer photos, albeit with limitations. The primary disadvantage of using email is the file size limit, which can vary depending on the email provider. Additionally, multiple photos may need to be sent in separate emails, which can be time-consuming.
Third-Party Apps
Various third-party apps offer photo transfer capabilities, providing additional features and flexibility. Some apps allow for bulk transfers, while others provide cloud storage options. However, these apps may require payment or subscriptions and may have varying levels of security and privacy measures.
iCloud Transfer
iCloud Transfer is a convenient method for transferring photos from an iPhone to a computer. It utilizes the iCloud storage service to sync photos between devices. To use this method, you’ll need an iCloud account and a stable internet connection.
Uploading Photos to iCloud
1. On your iPhone, open the Settings app and tap on your Apple ID.
2. Select “iCloud” and then “Photos.”
3. Enable the “iCloud Photos” option.
4. Choose the “Optimize iPhone Storage” option to save space on your device.
Once enabled, your photos will automatically be uploaded to iCloud.
Downloading Photos from iCloud to Computer
1. On your computer, open a web browser and go to icloud.com.
2. Sign in to your iCloud account.
3. Click on the “Photos” icon.
4. Select the photos you want to download and click the “Download” button.
5. Choose a location on your computer to save the photos.
Requirements and Limitations
iCloud Transfer requires an active iCloud account and a stable internet connection. The amount of photos you can store on iCloud depends on the storage plan you have. Free accounts come with 5GB of storage, while paid plans offer more storage capacity. If you exceed your storage limit, you’ll need to upgrade to a paid plan or delete some photos.
AirDrop Transfer
AirDrop is a wireless file-sharing technology developed by Apple that allows you to transfer photos, videos, and other files between Apple devices. It uses Bluetooth to establish a connection and Wi-Fi to transfer the files, making it a fast and convenient way to share content.
To use AirDrop, both devices must have it enabled. On an iPhone, you can enable AirDrop by swiping up from the bottom of the screen to open the Control Center, then tapping on the AirDrop icon. You can choose to share with “Contacts Only” or “Everyone.” On a Mac, you can enable AirDrop by clicking on the AirDrop icon in the menu bar.
Once AirDrop is enabled, you can initiate a photo transfer by selecting the photos you want to share, tapping on the Share button, and then selecting the AirDrop icon. The photos will be sent to the other device, which will receive a notification. The recipient can then tap on the notification to accept the transfer.
AirDrop has a range of about 30 feet, and it is compatible with all Apple devices running iOS 7 or later or macOS X Yosemite or later. However, it is important to note that AirDrop is not a secure file-sharing method, and it is possible for others to intercept your files if they are within range.
Email Transfer

Email transfer is a straightforward method for sending photos from an iPhone. It involves attaching the desired photos to an email and sending them to a recipient. This method is convenient for sharing a small number of photos, but it has limitations in terms of file size and image quality.
File Size Limitations and Image Quality
Email providers typically impose limits on the size of attachments that can be sent and received. These limits vary depending on the provider, but they generally range from a few megabytes to tens of megabytes. If the total size of the photos you want to send exceeds the attachment limit, you may need to use a different transfer method.
Additionally, email transfer can reduce the quality of the images. When you attach a photo to an email, the email provider may compress the image to reduce its file size. This can result in a loss of image quality, especially for large or high-resolution photos.
Attaching Photos to an Email
To attach photos to an email on an iPhone, follow these steps:
- Open the Photos app and select the photos you want to send.
- Tap the Share button and select the Mail option.
- Enter the recipient’s email address and compose your email message.
- Tap the Send button to send the email.
Third-Party Apps

In addition to the built-in transfer methods, third-party apps offer versatile options for transferring photos from an iPhone. These apps provide diverse features, pricing models, and compatibility with various platforms.
Popular Third-Party Apps
- Google Photos: Free cloud storage with automatic backup, sharing, and editing features. Compatible with iOS and Android.
- Dropbox: Cloud storage with file sharing, synchronization, and offline access. Offers paid plans with increased storage capacity.
- OneDrive: Cloud storage from Microsoft, integrated with Windows and Office 365. Provides a range of storage options and file management tools.
- Amazon Photos: Unlimited photo storage for Prime members. Offers additional storage options for non-Prime users.
- AirDroid: Wireless file transfer and management app. Allows remote access to files, including photos, from a computer or web browser.
Installing and Using Third-Party Apps
To use third-party apps for photo transfer, follow these steps:
- Download the app from the App Store.
- Create an account or sign in with an existing one.
- Configure the app settings, such as storage location and backup preferences.
- Select the photos you want to transfer and initiate the transfer process.
Third-party apps provide convenient and customizable solutions for transferring photos from an iPhone. They offer cloud storage, file management, and cross-platform compatibility, enhancing the accessibility and sharing of your precious memories.
Troubleshooting Common Issues
Photo transfer from an iPhone can sometimes encounter issues. Understanding and resolving these problems is crucial for successful photo transfer.
Failed Transfers
- Check your internet connection. A stable Wi-Fi or cellular network is essential for seamless transfer.
- Ensure there’s sufficient storage space on the receiving device.
- Restart both the iPhone and the receiving device. This often resolves temporary glitches.
Slow Transfer Speeds
- Optimize your network connection by moving closer to the Wi-Fi router or using a faster internet plan.
- Reduce the number of photos being transferred at once. Smaller batches transfer faster.
- Use a wired connection to the receiving device, if possible, for maximum speed.
Compatibility Errors
- Ensure the receiving device supports the photo format of the iPhone (e.g., HEIC, JPEG).
- Convert photos to a compatible format using third-party apps or online converters.
- Update both the iPhone and the receiving device to the latest software versions.
Tips and Best Practices

Before transferring photos, organize them into albums or folders to simplify the process. Optimize file sizes by choosing the appropriate resolution and compression settings to balance quality and storage space. Maintain photo quality by avoiding excessive cropping or editing that can degrade the image.
Regular Backups
Regularly back up your photos to a cloud service or external hard drive. This ensures you have a copy of your photos in case of accidental deletion or device failure, providing peace of mind and preventing data loss.
Questions and Answers
Can I transfer photos from iPhone to PC without using iCloud?
Yes, you can use AirDrop, email, or third-party apps to transfer photos from iPhone to PC without iCloud.
What is the fastest way to transfer photos from iPhone?
AirDrop is the fastest way to transfer photos from iPhone, as it utilizes a direct wireless connection between Apple devices.
Can I transfer photos from iPhone to Android?
Yes, you can use third-party apps or cloud storage services to transfer photos from iPhone to Android.
How do I transfer a large number of photos from iPhone?
Using iCloud or a third-party app that supports batch transfer is recommended for transferring a large number of photos from iPhone.
What is the best way to transfer high-quality photos from iPhone?
Using iCloud or a third-party app that supports high-resolution photo transfer is recommended for maintaining the original quality of your photos.


